Installation & Setup
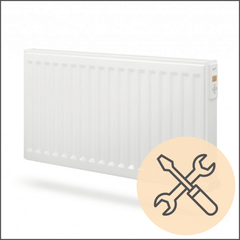
Panel Installation
Installation of Purmo panels is extremely simple. Two brackets are screwed to your wall, and the panel simply clips on. It typically takes around 20 minutes per panel.
Provided there's a powerpoint nearby, this makes DIY installation a breeze!
If you want the clean appearance of a hardwired installation, you'll need to arrange an electrician to wire up the included wall boxes directly before installing the panels.It's also a good idea to engage an electrician if you have an older switchboard. This ensures you won't overload any of your circuits by the amperage draw of the panels.
For Victorian customers, we can offer our installation service directly. This includes mounting of the brackets and panels, but it does not include hardwiring or anything that requires a licensed electrician. For interstate customers, we're happy to assist your electrician to make sure the panels are installed directly.
Download our Installation Manual for full details and technical information.
Alternatively, you can watch our detailed installation video below:
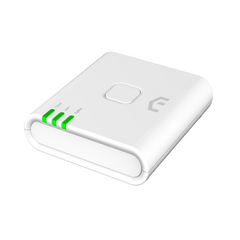
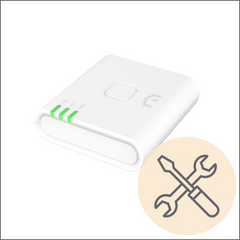
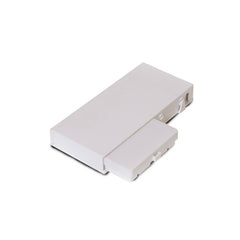
Ensto Box & Wiring
Typically installation of these wall boxes is behind the radiator position, usually around the centre, but away from wall studs we might use for the heater mounting brackets.
We recommend a qualified electrician install this for you so that it is fully certified.
For customers who would like to pass on installation information along to their Electricians please see the video and PDF below.
Download the Wall Box Wiring & Installation Notes PDF.
Unisenza+ App: Base Run Through
From pairing new devices to setting up schedules, this comprehensive guide ensures optimal comfort and energy efficiency in your home.
All the following videos are for our Legacy Models and Touch E3 setup.
This does not apply to the Unisenza or Plus series heaters
E3 Setup & Wifi Setup
Pairing a E3 Controller to an Legacy Radiator
In the first video we cover how to pair the E3 Controller to one of the LVI radiators.
E3 Controller Functions and Timer Settings
In this second video we cover all the important features of the E3 controller and we go through how to set up timers for each heater.
Legacy Radiator Wifi and Phone App Setup
This third video covers off how to connect your E3 to your phone app so that the heaters can be controlled remotely.